Cone Hut
Basic/bivvies hutTararua Forest Park, WellingtonOpen
Current advisories
Predator control for Southern Tararuas
20 May 2026
DOC and OSPRI distributed toxic cereal bait pellets by helicopter in this area on 11 and 23 March 2026. A caution period is in place for approximately 8 months. Visitors are advised not to take dogs into the area until the caution period has ended. 1080 is deadly to dogs. How to keep dogs safe around 1080 . View the distribution map (PDF, 2749K) . View the pesticide summary map First published on 3 March 2026. Last reviewed on 21 May 2026.
Source: DOC Te Papa Atawhai alerts.
- Sleeps
- 6 bunks
- Booking
- Not bookable
- Cost
- Free
- Heating
- Yes
- Drinking water
- Not drinkable
- Toilet
- Non-flush
Getting there
We have not checked a road end or car park for this place yet, so we do not give driving directions to it. Check how to get there before you go. Some routes cross private land and need the landowner's permission.
How to get there, on doc.govt.nzCone Hut is best accessed from Waiohine Gorge Road end.
- Topo map
- Topo50 sheet BP33
- Grid reference
- E1797244, N5459973
Source: DOC Te Papa Atawhai.
Map and tracks
Track lines: DOC Te Papa Atawhai. Map data © OpenStreetMap contributors. Topo map: LINZ, CC BY 4.0. 40.98759° S, 175.34478° E
About this place
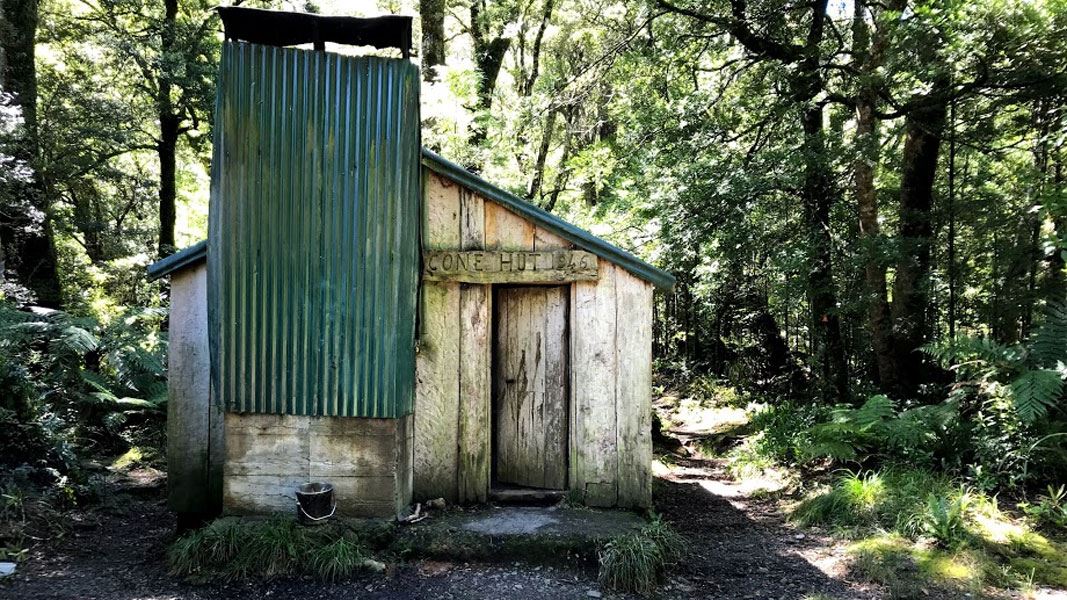
This is a basic six-bunk hut in the Wairarapa region and is the second oldest hut in the Tararuas.
On the way here
Cone Ridge Tracks
Waiohine Road End to Cone Hut/Cone Saddle
Time: 2-3 hours
4.23 km to Cone Saddle From Waiohine Road End and Campsite, cross the high suspension bridge over the Waiohine River. As soon as you have crossed the bridge you will reach a track junction. Take the left hand track, going down the valley. Shortly after this you reach another track junction. This time take the right hand track, leading up the hill. The track climbs the ridge steeply, ascending over 300 vertical metres. The track is a rough tramping track, so expect to be scrambling up over tree roots and loose material. The track then flattens out, coming to a high point at 572 m. The track then continues up a gentle slope along the ridge, reaching another high point at 682 m. The track then turns and follows the ridge north-west. Approximately halfway between the 682 high point and Cone Saddle, you will come to another track junction. Here you have the option to take the left hand track and descend steeply to Cone Hut. It is around 1 km down this track to Cone Hut, which is situated on a pretty terrace above the Tauwharenīkau River. Take care on the descent, as it is steep and slippery. If you are going to Cone Saddle rather than Cone Hut, continue along the main ridge track. The track descends gently before reaching Cone Saddle at 566 m. There is a four-way track junction at the saddle – from here you have the option of taking the track to Cone Ridge, or of descending to Waiohine Valley or Cone Hut (and the Tauwharenīkau Valley).
Cone Saddle to Cone Hut or Waiohine Valley
These tracks are described as part of the Holdsworth-Kaitoke Track web page .
Holdsworth - Kaitoke Track · 2–3 days
Day two: Totara Flats Hut – Tutuwai Hut
Time: 6 hr
From Totara Flats Hut, the track continues down the Waiohine River river and across Totara flats. Before reaching a high bluff, the track swings away from the river. It climbs steeply up onto a high riverbank and then continues downstream. The track soon reaches a large slip. The only option for passing the slip is to walk downstream on the riverbank to Makaka Creek. This is only possible when the river is low; if in doubt, take the all-weather track. Cross the Makaka Creek bridge and climb up the bank to the marked junction. This is where the Cone Saddle Track separates from the Lower Waiohine Track. Turn right onto the Cone Saddle Track at the junction and climb steadily up a spur to the ridge top. From here the track sidles into Clem Creek and climbs to Cone Saddle. Descend the track to Cone Hut in the Tauwharenīkau Valley. Expect to encounter stream crossings, muddy sections and fallen trees on the Cone Saddle Track. The track can be narrow and indistinct in places, so keep a close eye on the orange markers. Allow plenty of time for this section. From Cone Hut follow the track down the Tauwharenīkau river valley. The track passes through muddy terraces and grassy flats. There are regular crossings of small side streams. Tutuwai Hut is about 1 hr walk from Cone Hut. There are grassy areas near Tutuwai Hut that are good camping sites. Campers who use hut facilities are required to pay one hut ticket
Whataroa, Butler and Perth valleys tracks · 3 days +
Whataroa-Perth Track junction – Scone Hut tramping track
Time: 6 hr The track climbs steeply to a large forested terrace, which is crossed in about an hour, before dropping down to the top of the gorge. Rock hop up the true left of the river to Hughes Creek. This creek quickly becomes impassable after rain so take care. After a further short boulder hop, Nolans Hut (four bunks) is reached.
Beyond Nolans Hut, the track crosses Nolans Flat, before re-entering the bush. If the river is running high there is a high-level route marked and sign-posted at the top of Nolans Flat. There are a couple of short steep bluffs before more beach travel. The track then alternates between bush terraces and boulder hopping to Scone Hut (six bunks), with several notable side creeks needing to be crossed. The entire track is on the true left of the Perth River.
Perth headwaters/Adams Wilderness Area access
Time: 30 min to end of track
To access the Perth headwaters and Adams Wilderness Area from Scone Hut, follow the track across Lower Scone swing bridge, then to Redfield swing bridge. The marked track ends approximately 200 m above the Redfield swing bridge.
Bettison Route
Time: 2 hr to bush edge
To access the Bettison Route from Scone Hut follow the track upstream over Lower Scone swing bridge to the sign-posted junction. The route then climbs through the forest to approximately 1200 m, giving access to the upper Bettison Stream and Dennistoun Pass areas. The marked route ends at the two yellow and blue deer posts. Travel beyond this point is suitable only for those experienced in alpine travel.
Neill Winchcombe Circuit · 3 days
Waiohine Road End to Cone
From Waiohine Road End and Campsite, cross the high suspension bridge over the Waiohine River and follow the track signposted towards Cone Hut. The track climbs the ridge. Continue on, following the sign to Cone Saddle. From Cone Saddle, the track climbs to the Cone summit. Just before Cone there is a track junction, where the left-hand track leads to Neill Saddle and Neill Ridge.
Alpha Hut to Cone Hut (via Bull Mound)
Time: 3 hours
Before you leave Alpha Hut, consider whether you will be able to cross the Tauwharenīkau River safely. There is an unbridged crossing of the river shortly before Cone Hut. If it has been raining, the river may be not be passable. If this is the case, it may be better to wait in Alpha Hut or take an alternative route out (for example, exiting via Marchant Ridge down the Southern Crossing Track). Continue on the Southern Crossing track from Alpha Hut and descend from 1187 m to the saddle at Hells Gate. The track climbs from the saddle to Marchant Ridge. When you reach the top of the ridge, there is a track junction. Take the left-hand track (the Bull Mound Track) towards Bull Mound and Cone Hut. This track follows the ridge to Bull Mound (1060 m), then descends steeply into the Tauwharenīkau Valley. The track emerges into the valley on the true right of the Tauwharenīkau River, not far downstream from Cone Hut. Cross the river to the true left, where you will meet the Tauwharenīkau Track. Follow the track upstream for a short distance until you come to Cone Hut. Cone Hut is a historic hut, situated in mature forest above the Tauwharenīkau River.
Cone Hut to Waiohine Road End
Time: 2 hour 30 minutes
From Cone Hut, the track climbs towards the ridge. Soon you reach a track junction – take the right hand track leading straight up to the ridge, rather than the left hand track that follows the valley towards Cone Saddle. The track climbs steeply until it reaches the ridge and another track junction. Again, take the right hand track towards Waiohine Road End (the track you came up on), rather than going towards Cone Saddle. The track follows the ridge, then descends all the way into the Waiohine Valley. Cross the bridge over the river, then you will reach the road end.
Source: DOC Te Papa Atawhai.
Trip options
Walking times come from DOC track descriptions, added up leg by leg from car-accessible trailheads. Nights and return times are ParkUp estimates, allowing about 8 hours of walking a day.
6 options · 1 to 2 nights
Waiohine Road End
Walking in
3 hr
Walking out
3 hr to Waiohine Road End
Tracks used: Cone Ridge Tracks → Whataroa, Butler and Perth valleys tracks
Walking in
3 hr
Walking out
8 hr to Road end
Road end
Walking in
8 hr
Walking out
8 hr to Road end
Source: DOC Te Papa Atawhai track descriptions.
Fees and bookings
Free
Source: DOC Te Papa Atawhai.
On these tracks
Source: DOC Te Papa Atawhai.
Nearby stops
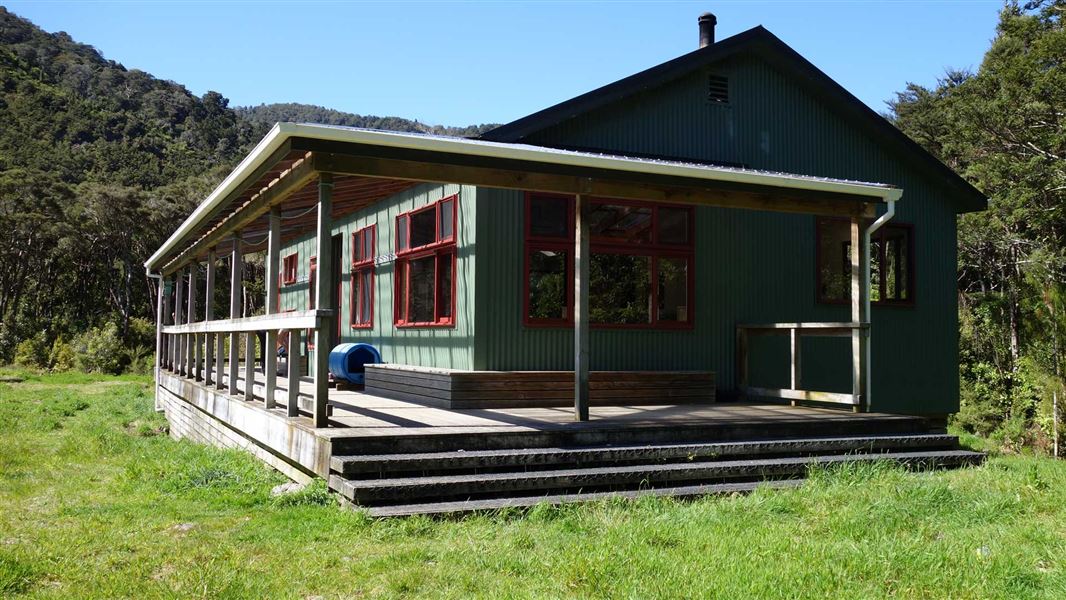
Totara Flats Hut
Serviced • 26 bunks • Wellington • 7.8 km
Totara Flats Hut is a hut located in the Wairarapa region. It is suitable for an overnight stay in the Waiohine Valley.
Heating • Mattresses • Toilets - non-flush
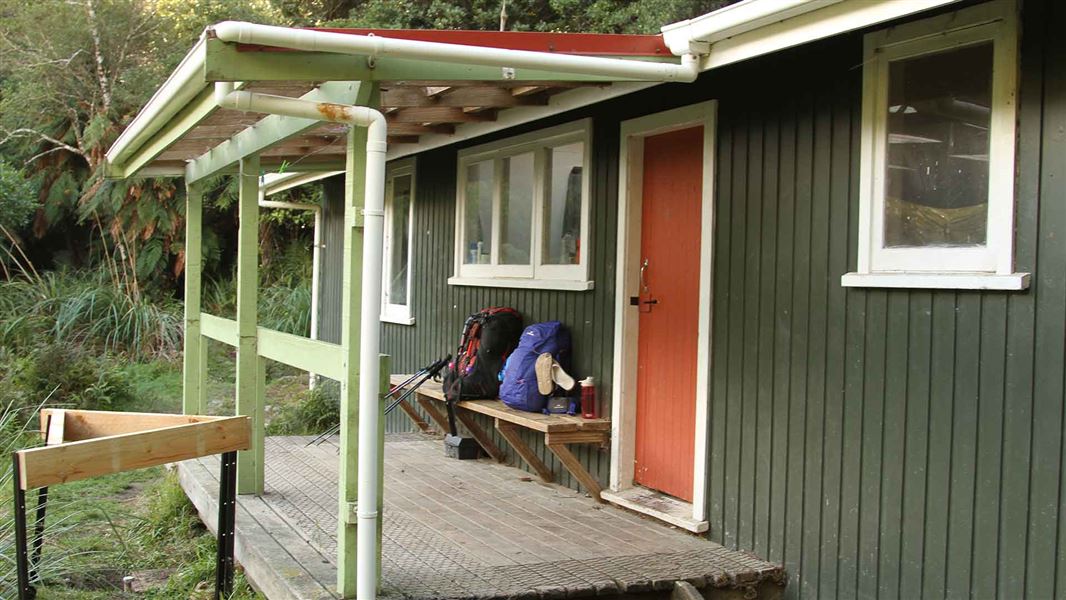
Tutuwai Hut
Standard • 20 bunks • Wellington • 3 km
Tutuwai Hut is a 20-bunk hut located in the Tauwharenīkau Valley. It can be accessed from Waiohine Gorge roadend in Wairarapa or from Kaitoke and Marchant…
Heating • Mattresses • Toilets - non-flush
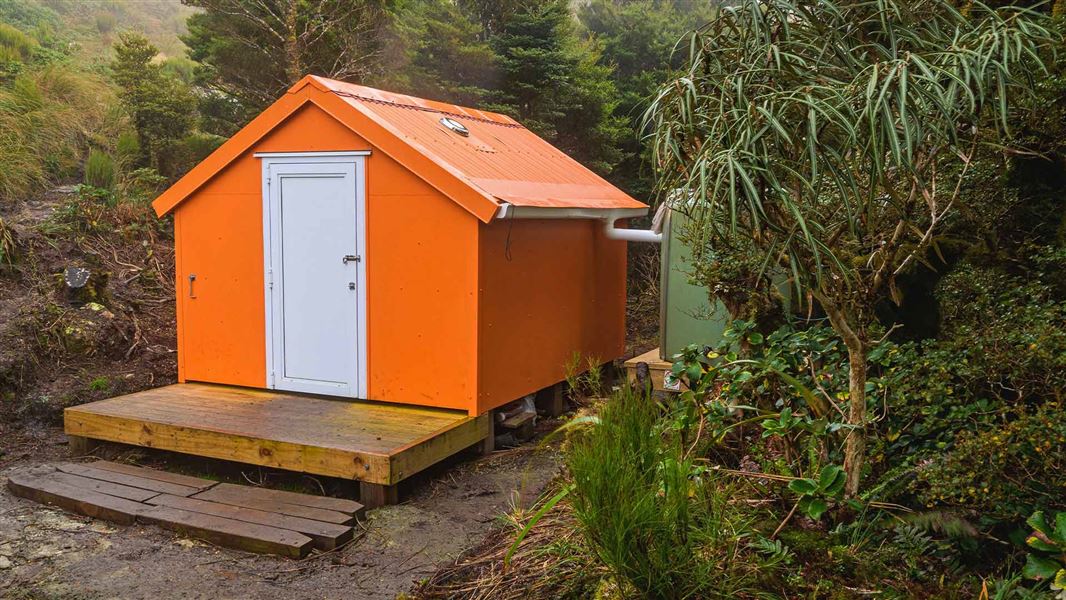
Winchcombe Biv
Basic/bivvies • 2 bunks • Wellington • 5.1 km
Winchcombe Biv is a two-bunk forestry service style bivouac located in the Tararua Forest Park. It includes two mattresses, room for one additional sleeping…
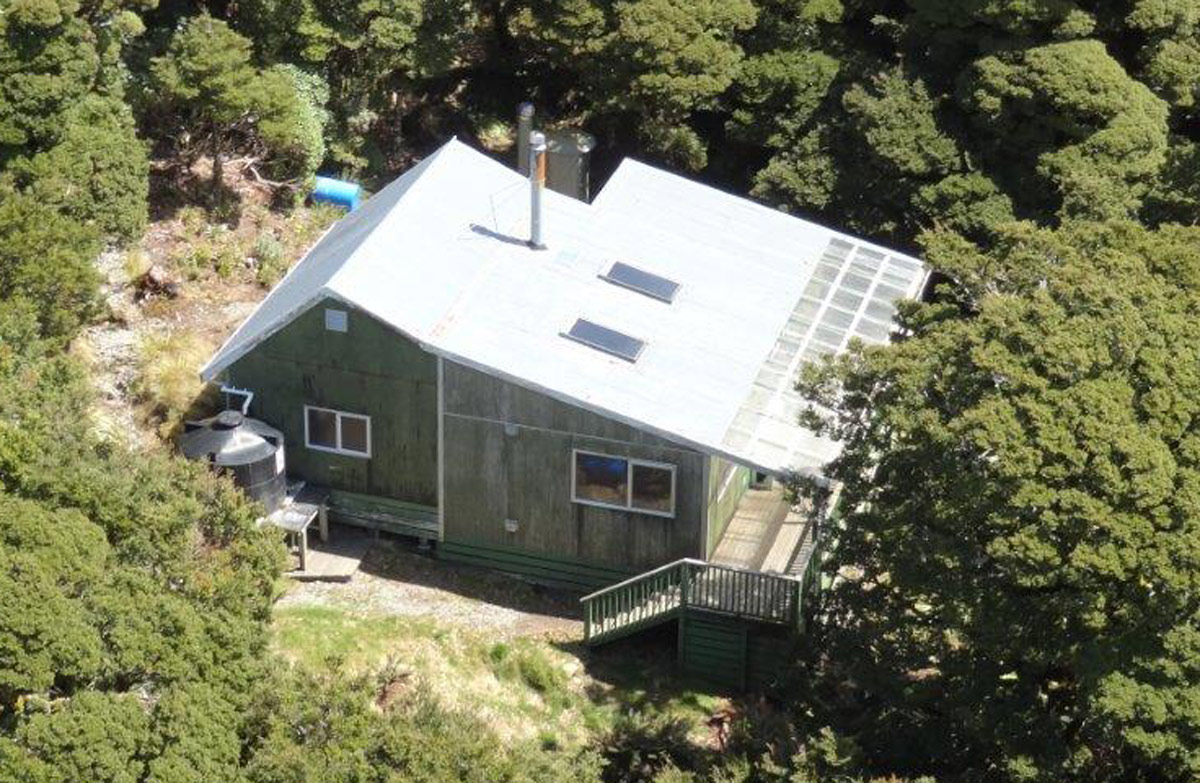
Alpha Hut
Standard • 20 bunks • Wellington • 5.3 km
Alpha Hut is a standard 20-bunk hut located in the Wairarapa region.
Heating • Mattresses • Toilets - non-flush
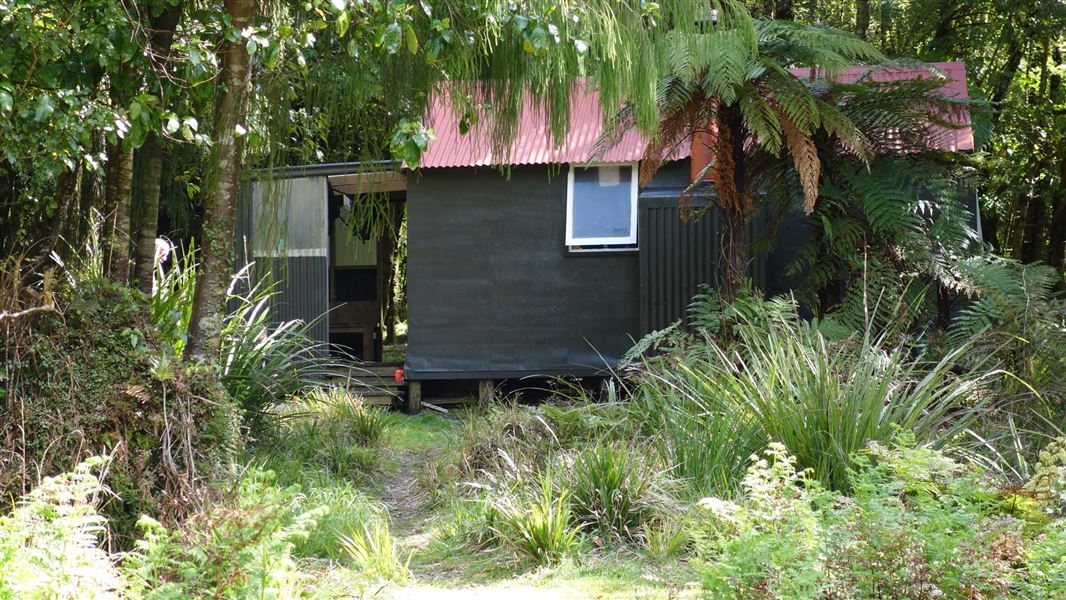
Neill Forks Hut
Standard • 6 bunks • Wellington • 6.2 km
Neill Forks Hut is a standard six-bunk hut located in the Wairarapa region of Wellington.
Heating • Mattresses • Toilets - non-flush
Walks nearby
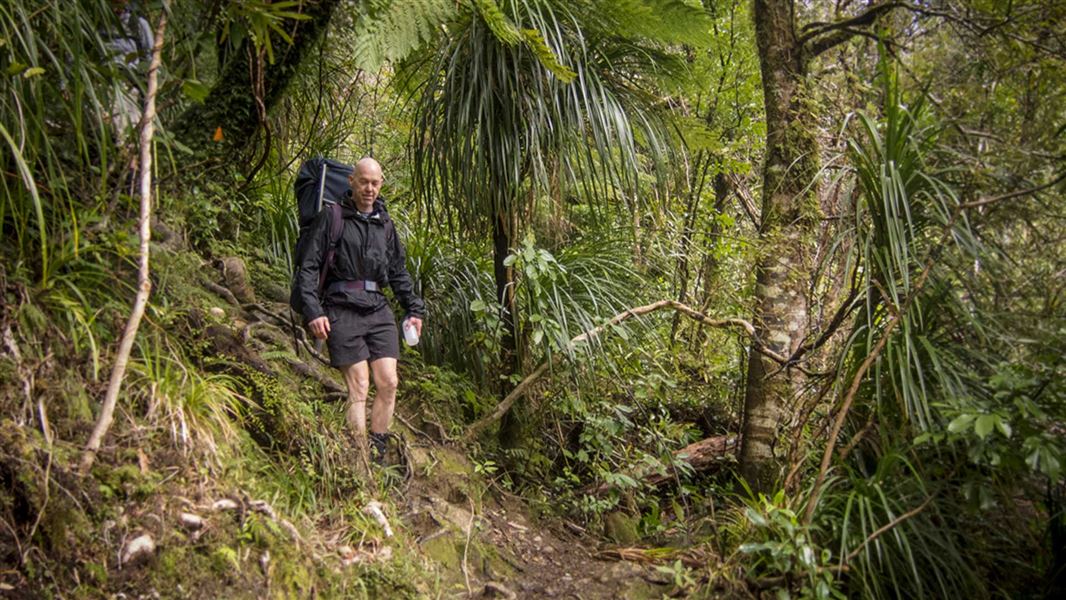
Lower Waiohine Track
Intermediate • 4 hr and 30 min • 8.7 km • 4.33 km away
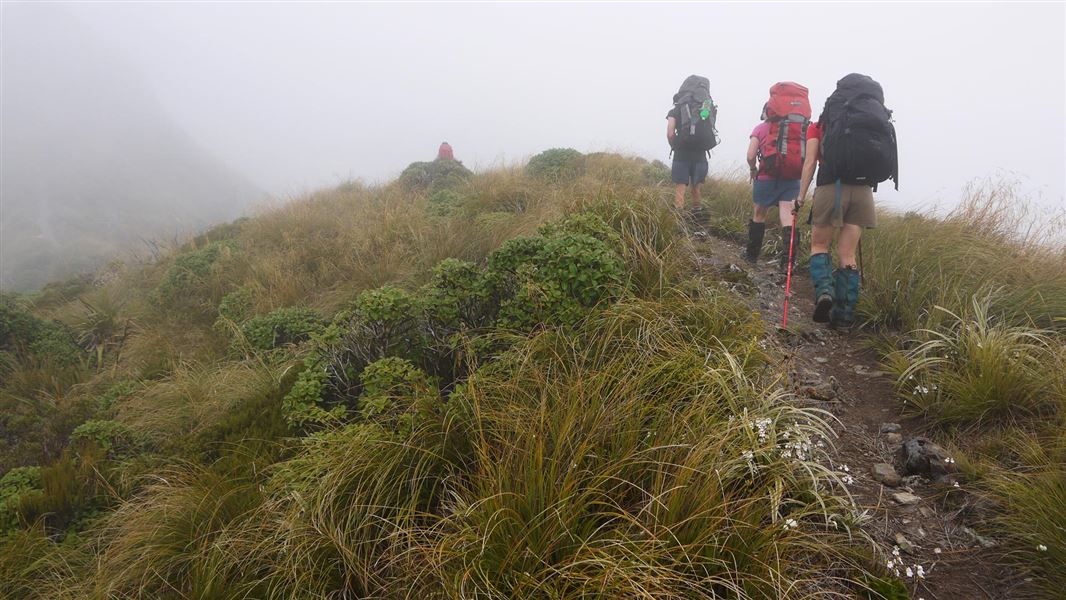
Tararua Southern Crossing
Advanced • 3 days • 6.17 km away
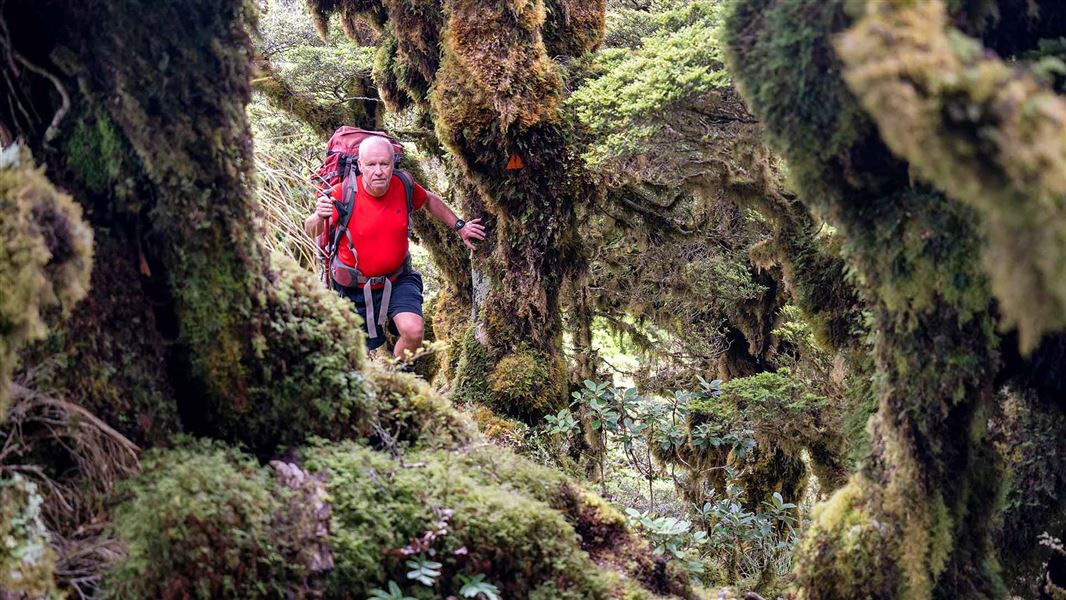
Neill Forks to Maungahuka Track
Advanced • 4 hr • 3.8 km • 7.28 km away
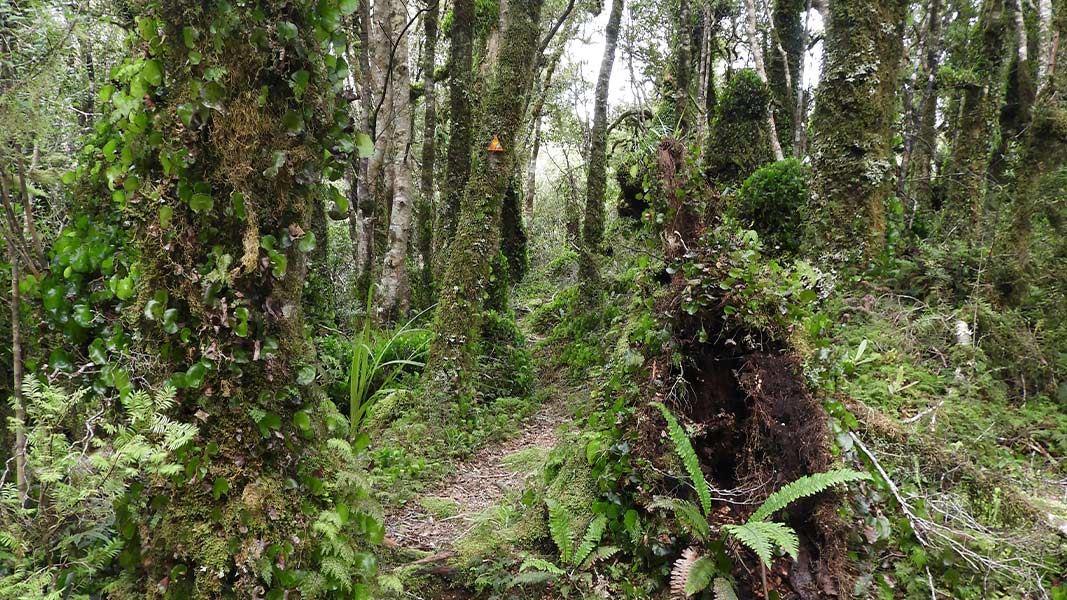
Renata-Alpha Crossing
Advanced • 3–4 days • 10.04 km away
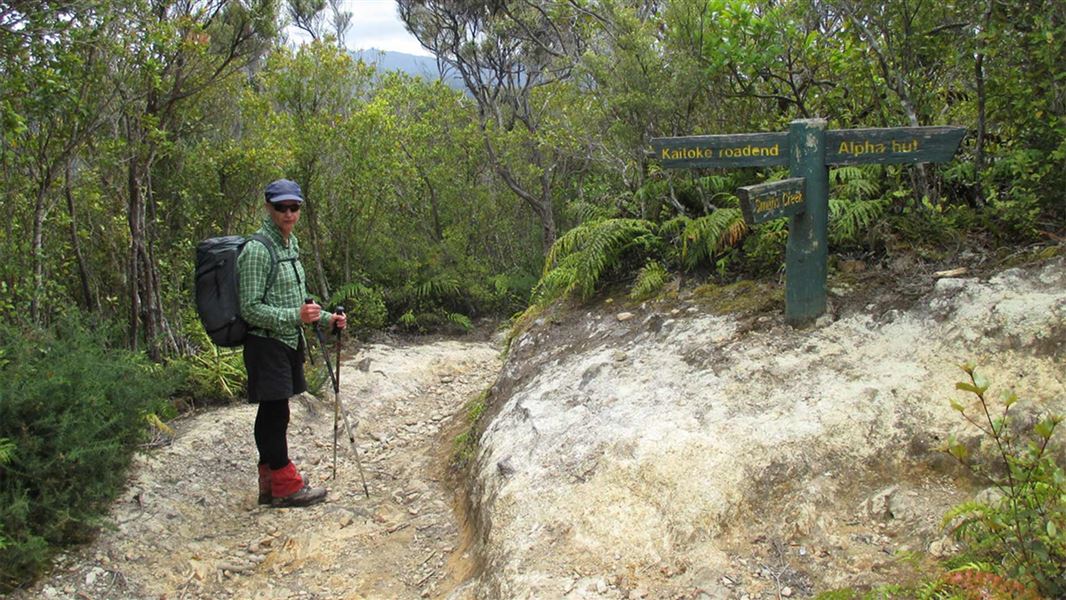
Dobson Loop Track
Easy • 5.5 hr (return to Smith Creek Shelter) • 13 km (return to Smith Creek Shelter). 11.5 km (Dobson loop) • 11.21 km away
Contact
Wellington/Kapiti information
Regional DOC service centre.
Notes from people who have been
No notes yet. If you have been, say what you found.
Something missing or out of date?
Closed, moved, wrong facts, or something we have missed? Travellers keep the Road Guide up to date. Tell us what you found at contribute@parkup.nz and we will check it and add it.
Ask us to take this down
A person reads every request. We do not remove a place until we have checked it.
Sources
- OpenStreetMap Huts · ODbL (Open Database License)Contains information from OpenStreetMap, made available under the ODbL.
- DOC Huts · CC BY 4.0Data sourced from the Department of Conservation (DOC), New Zealand.
- DOC Huts (API) · CC BY 4.0Crown Copyright: Department of Conservation Te Papa Atawhai. Data sourced from the DOC Developer Portal (api.doc.govt.nz).