Arahura and Styx valleys tracks
WalkWest Coast
- Grade
- Advanced
- Walking time
- 4 days
- Distance
- 11 km
- Dogs
- No dogs
Access: read before you go
Access to the Styx Valley is off the Kokatahi/Lake Kaniere circuit road around 1 km on the Lake Kaniere side of the Mark Wallace Styx River Bridge. The track begins at a car park about 500 m along the Dorothy Falls Road from the last road bridge across the Styx River and initially follows a rough 4WD route.
Source: DOC Te Papa Atawhai.
Getting there
We have not checked a road end or car park for this place yet, so we do not give driving directions to it. Check how to get there before you go. Some routes cross private land and need the landowner's permission.
How to get there, on doc.govt.nzAccess to the Styx Valley is off the Kokatahi/Lake Kaniere circuit road around 1 km on the Lake Kaniere side of the Mark Wallace Styx River Bridge. The track begins at a car park about 500 m along the Dorothy Falls Road from the last road bridge across the Styx River and initially follows a rough 4WD route.
Source: DOC Te Papa Atawhai.
Map and tracks
Track lines: DOC Te Papa Atawhai. Map data © OpenStreetMap contributors. Topo map: LINZ, CC BY 4.0. 42.88958° S, 171.29641° E
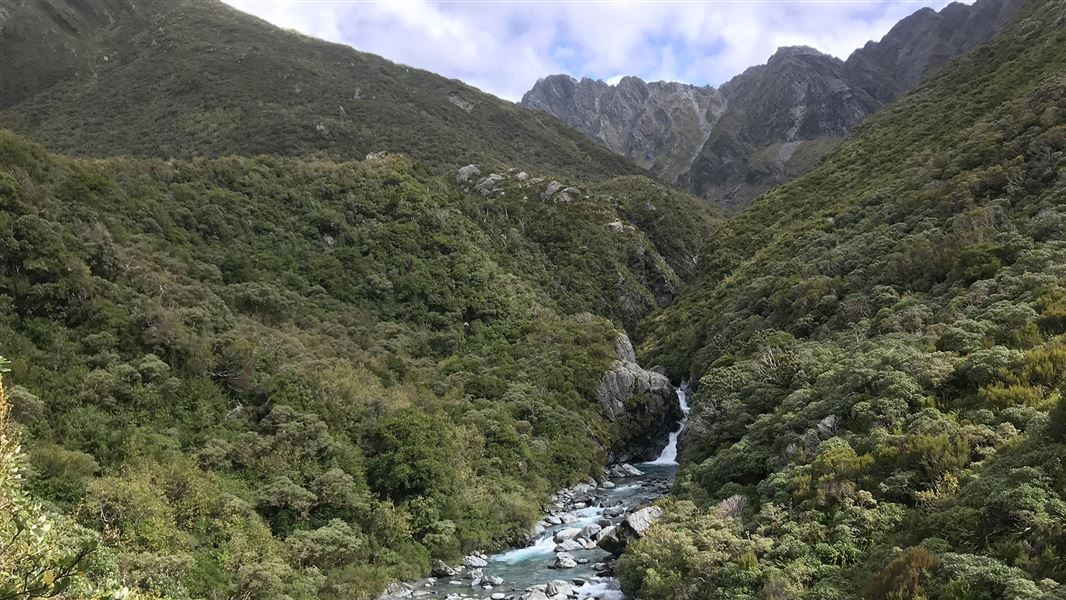
About this place
The Arahura and Styx valleys are popular areas for tramping and hunting. The main access in both valleys is via benched formations constructed during the early gold mining days.
The route
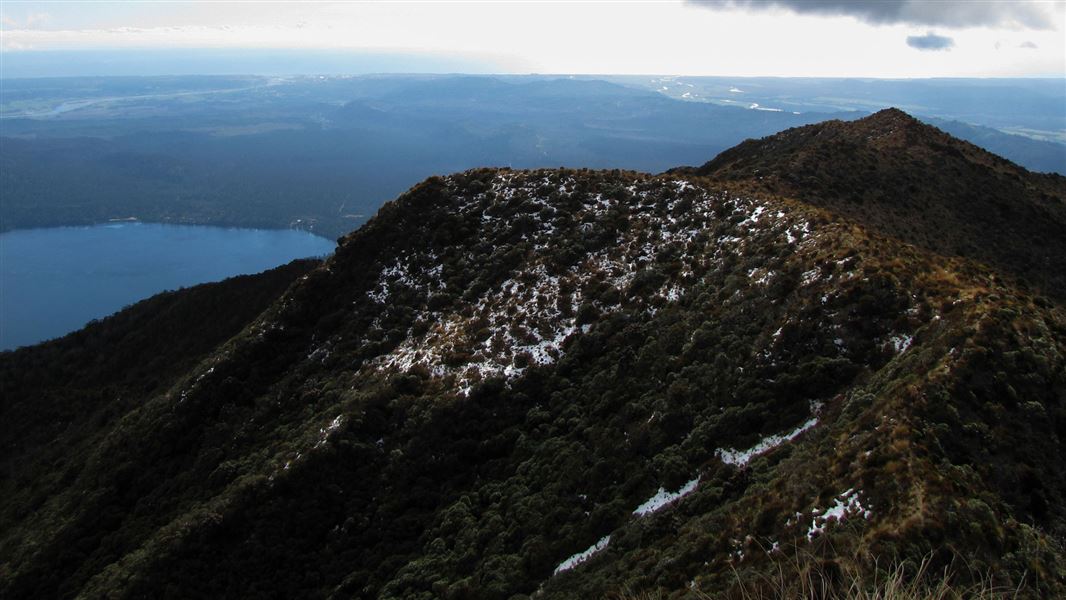
The Arahura/Styx Valleys are popular areas for hunting, tramping and kayaking, with the lower valleys of both rivers also popular for trout fishing. The low Styx Saddle connects the two valleys allowing round trips during the summer and autumn. Browning Pass/Noti Raureka at the head of the Arahura River gives access across the Main Divide to the Wilberforce River. It is also on the route of the Arthur's Pass: Three Passes Route from the Waimakariri River over the Harman Pass, Whitehorn Pass and Browning Pass/Noti Raureka to the Arahura headwaters. It is suitable for well equipped people with previous backcountry experience. The best seasons for walking this track are summer and autumn. There are four huts to stay in along the way – hut tickets are required. The marked route to Mid Styx and Grassy Flat Huts requires at least two fords of the Styx River. Travel is not recommended during or following heavy rain and due to the constantly changing nature of the river, safe crossing will change over time. Take the time to fully assess your crossing point. Note: True left and true right refer to the side of the valley or river when looking downstream.
Styx Road End to Mid-Styx Hut
Time: 2 hr 30 mins to 3 hours
From the carpark the route initially follows an old farm track. Where the Styx River cuts in against a large shingle bluff, ford across the river to the true left where the route recommences and goes to Tyndall Creek. Head up Tyndall Creek for just over a kilometre to around the 400m contour line. Here the track exits on the true right of Tyndall Creek and climbs steeply up onto a bush terrace. The route is exposed for parts of the ascent. The track flattens at the top of the climb and continues along the terrace for half an hour to the Hut. Tyndall Creek is likely to be uncrossable following heavy rain.
Mid-Styx Hut to Grassy Flats Hut
Time: 1 hr 30 mins
From Mid Styx Hut the track travels across the terrace for about 30 minutes before dropping steeply back down to the Styx, which is crossed again picking up the route on the true right. Due to the river constantly changing, it may be necessary to cross a large side creek east of the route down from Mid Styx in order to find a safe crossing of the Styx River. Once across the Styx it is around 1 hour to Grassy Flat Hut.
Grassy Flat Hut to Styx Saddle
Time: 1 to 1 hr 30 mins
Leaving Grassy Flat Hut the track heads upstream and crosses an un-named creek. From here rock cairns and orange markers show the way to a short section of track which takes you through scrub to the Styx River. Cross the river and continue on the track through tussock and grass before entering the bush and climbing to the Styx Saddle. Here the route is marked with tall poles and crosses the saddle to descend and join with the sign posted junction in the track, high above the Arahura River.
Styx Saddle to Mudflats Hut
Time: 2 to 2 hr 30 mins
Follow the benched track until it ends at an un-named creek, immediately upstream of Snowball Creek, follow the un-named creek down until rejoining the track on the true left bank about 150 m before the Arahura River. From here the track drops gradually through the bush to the river bed and then follows this for a short distance before climbing onto a low terrace to reach a swing bridge. Mudflats Hut can be seen on a high terrace on the true right of the Arahura River and is reached by crossing the swing bridge.
Winter conditions
In winter the track from Styx Saddle to Mudflats Hut crosses several deep guts which can become avalanche chutes. Extra care is required during heavy snow conditions.
Mudflats Hut to Lower Arahura Hut
Time: 4 hr 30 mins to 5 hr
From the hut cross back to the true left bank of the river, rejoin the track and climb steeply before crossing Visitor Creek. From here the benched track follows a contour high above the Arahura River. Follow this formed track (with some detours where it has slipped or washed away) down the true left of the valley, continuing past the turn off to Newton Creek Hut. Above the Lower Arahura Hut the track gradually descends from its high contour before dropping into an unnamed creek and emerging onto a short section of track closer to river level. Follow this to the hut, ignoring a swing bridge which is passed on the way.
Lower Arahura Hut to Road End
Time: 2 hr 30 mins to 3 hr 30 mins
From the hut to the road end travel is a mixture of track and riverbed. You will need to negotiate several washed outside streams between the hut and the swing bridge at The Cesspool. Once reached, cross this bridge to the true right bank of the Arahura River and follow the old logging road and river flats through private farmland before reaching the public road near the Milltown Bridge. This road leads to Lake Kaniere and then onto Hokitika which is 26 km away.
Styx Saddle to Harman Hut
Time: 1 hr 30 mins to 2 hr
A further day can be added to the trip to take in a well worthwhile visit to Lake Browning/Whakarewa and Browning Pass/Noti Raureka. From the signposted junction at Styx Saddle follow the benched track which sidles and climbs high on the true left above the Arahura River before dropping down to the swing bridge across the Harman River. Cross this bridge and climb back on to the terrace to follow the track across alpine bog-land to Harman Hut. Harman Hut has a wood stove but firewood is scarce in the area.
Harman Hut to Lake Browning/Whakarewa and Browning Pass/Noti Raureka
Time: 3 to 4 hr
From Harman Hut follow the benched track for about 1.5 km before dropping down an unnamed side stream to the Arahura River. A short section of track takes you out to the open riverbed. From here boulder hop up the true left bank for about 1 km keeping an eye out for a large orange triangle on the true right bank. This marks the beginning of a climb to the benched track which sidles high above the Arahura River, avoiding an impassable gorge. The track eventually meets back up with the river. Cross at this point and follow the marker poles up a steep section before reaching a boggy terrace. From here the track winds its way through to Lake Browning before sidling the lake and climbing diagonally to the Pass just east of spot height 1,426 m. During misty, low cloud conditions it can be difficult to locate and follow the markers. Care is required.
Source: DOC Te Papa Atawhai.
Know before you go
What to expect
Styx Valley Track is very rough with numerous slips and river crossings. The Styx River has cut into a vertical gravel cliff 20 minutes from the Styx car park. To continue up the valley the marked route is via Mid Styx Hut requiring at least two fords of the Styx River. Travel is not recommended during or following rainfall, and due to the constantly changing nature of the river, safe crossing will change over time. Take the time to fully assess your crossing point. The Arahura Track has a major slip south of Snowball Creek. Caution is advised when crossing this slip. Other hazards Flooded rivers and side streams. Avalanches down any of the side streams are a risk if a diversion to Browning Pass/Noti Raureka is undertaken during the winter/early spring. Ice axes and crampons may be required if travelling to Browning Pass/Noti Raureka in the winter. Progress may be slowed by storm damage to the route and re-growth of vegetation. Bad weather and track damage may mean allowances need to be made for possible delays. This information is an indication of conditions only.
Map
NZ Topo50-BV19 Lake Kaniere
Safety
Stay safe when crossing rivers and streams
If you plan to cross unbridged rivers or side streams, know how to cross safely and be prepared for if you cannot cross. Do not cross if the river or stream is flooded, you cannot find safe entry and exit points or are unsure it’s safe. Turn back or wait for the river to drop. If in doubt, stay out. How to cross rivers safely NIWA river flow forecasts: View a video of national followed by regional river flows
Source: DOC Te Papa Atawhai.
Joins these tracks
Source: DOC Te Papa Atawhai.
On this track
In walking order.

Mid Styx Hut
Basic/bivvies • 4 bunks • West Coast
- Heating
- Water
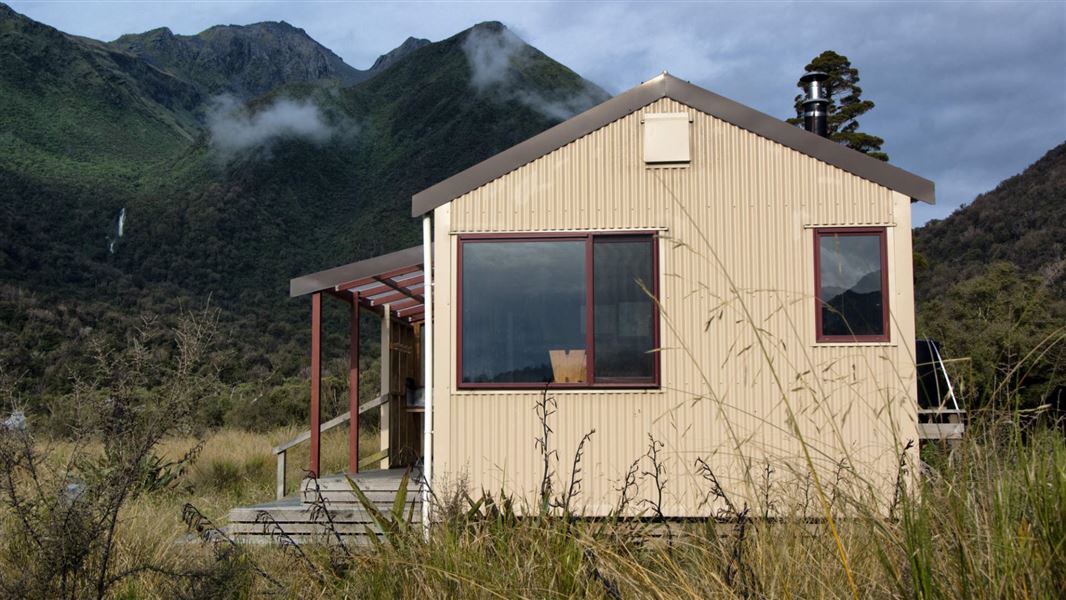
Grassy Flat Hut
Standard • 10 bunks • West Coast
- Toilet
- Heating
- Water
Mudflats Hut
Standard • 6 bunks • West Coast
- Toilet
- Heating
- Water
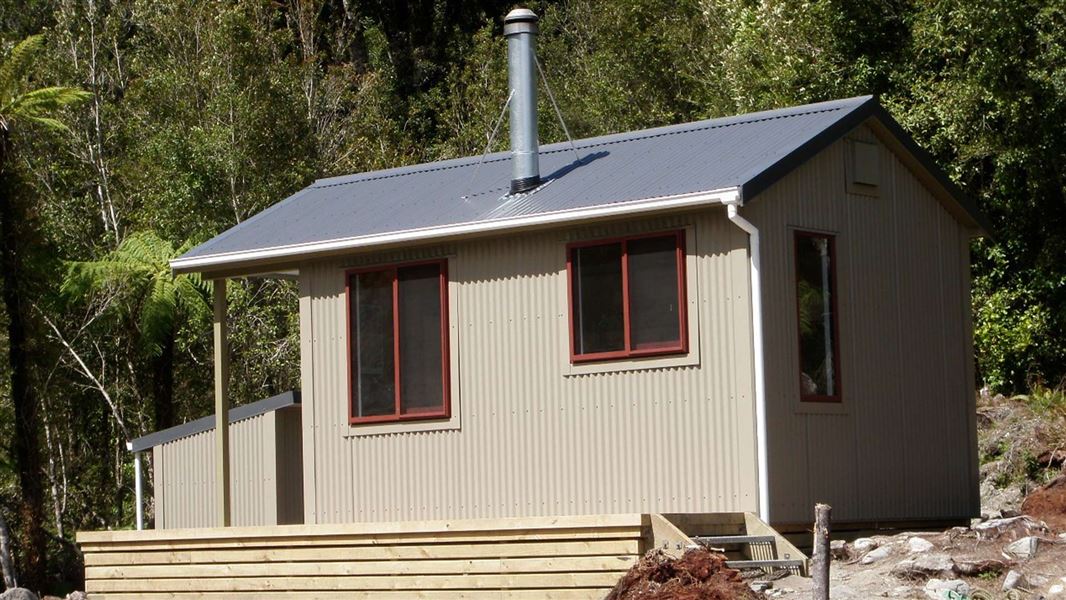
Lower Arahura Hut
Standard • 6 bunks • West Coast
- Toilet
- Heating
- Water
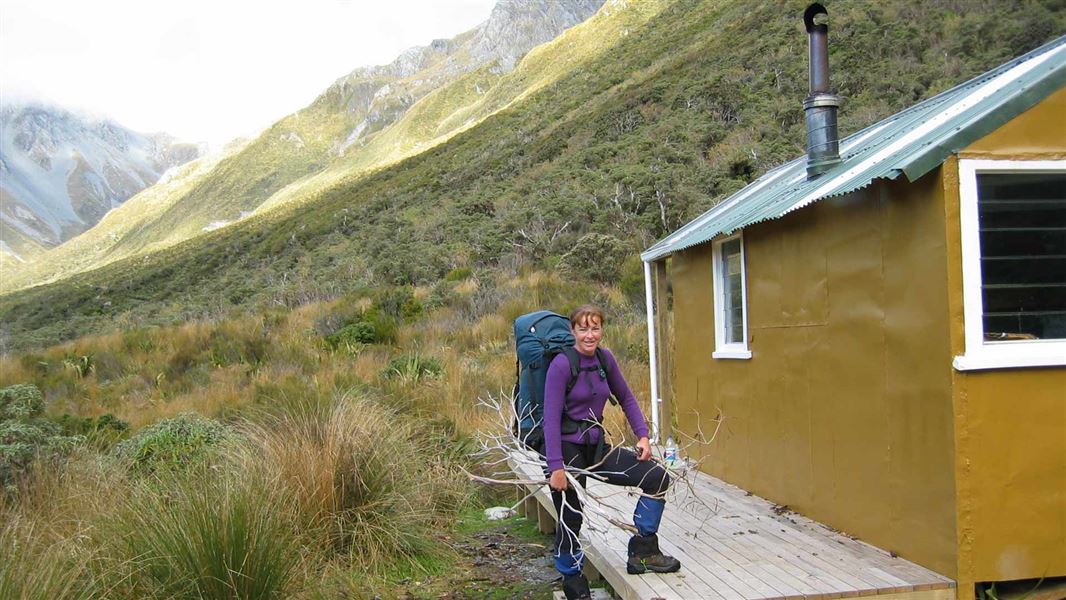
Harman Hut
Standard • 6 bunks • West Coast
- Toilet
- Heating
- Water
Clements Road End Campsite
Waikato
Nearby stops
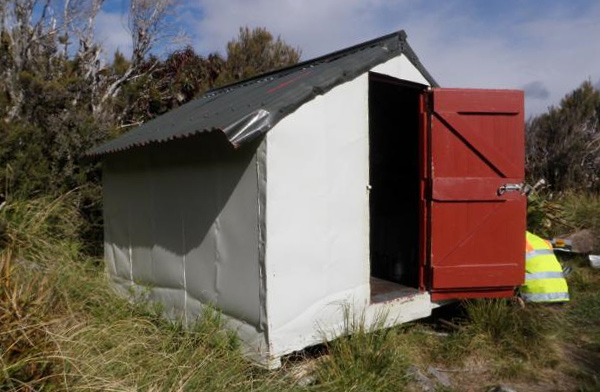
Browning Range Bivvy
Basic/bivvies • 2 bunks • West Coast • 2.6 km
The Browning Range Bivvy is a basic two-bunk hut located in the Hokitika area of the West Coast. It provides simple shelter for walkers in the region.
Mattresses • Toilets - non-flush • Water from tap - not treated, boil before use
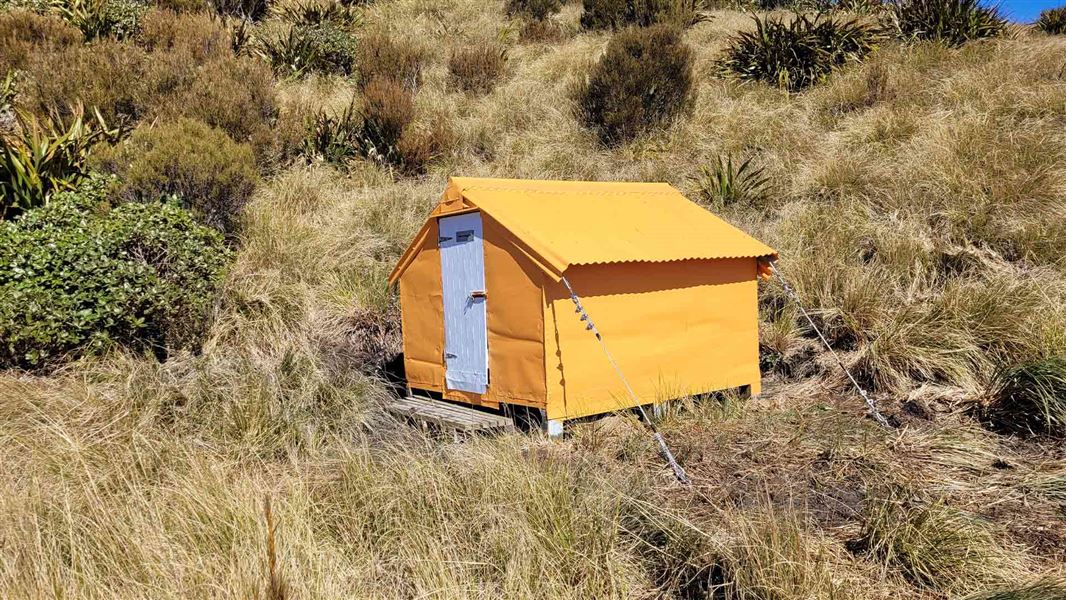
Newton Range Bivvy
Basic/bivvies • 2 bunks • West Coast • 2.6 km
Newton Range Bivvy is a basic two-bunk hut located in the Hokitika area of the West Coast.
Toilets - non-flush • Water from stream • Water supply

Campbell Bivvy
Basic/bivvies • 2 bunks • West Coast • 4.8 km
Campbell Bivvy is a basic two-bunk hut located in the Hokitika area of the West Coast.
Mattresses • Toilets - non-flush • Water from stream
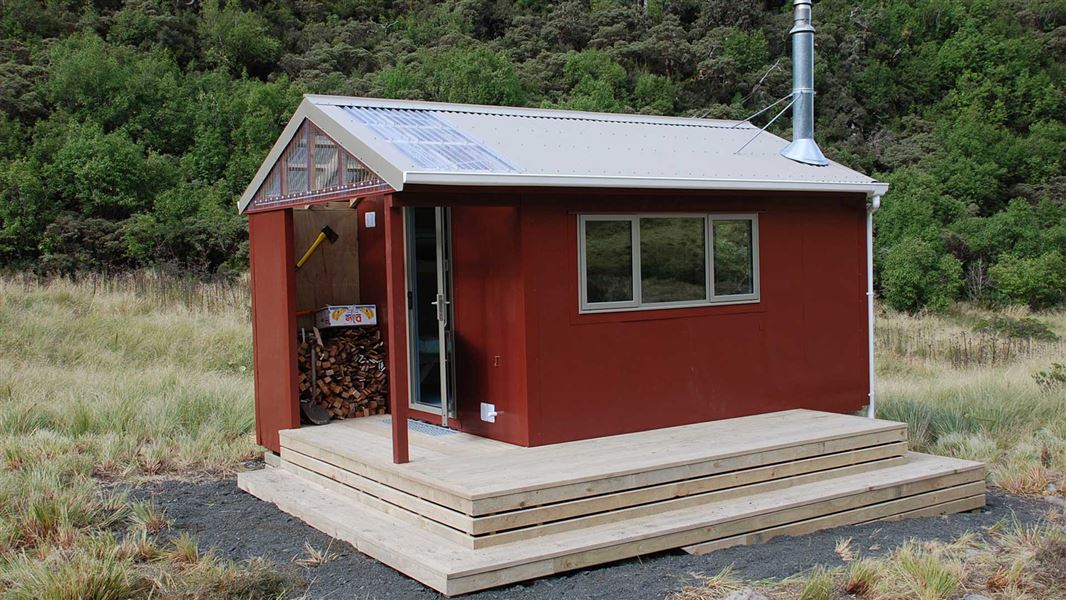
Top Crawford Hut
Basic/bivvies • 4 bunks • West Coast • 5.3 km
Top Crawford Hut is a basic four-bunk hut located in the Hokitika area of the West Coast.
Heating • Mattresses • Toilets - non-flush

Lower Olderog Bivvy
Basic/bivvies • 2 bunks • West Coast • 5.8 km
Lower Olderog Bivvy is a basic two-bunk hut located in the Hokitika area of the West Coast.
Mattresses • Water from stream • Water supply
Walks nearby
Notes from people who have been
No notes yet. If you have been, say what you found.
Something missing or out of date?
Closed, moved, wrong facts, or something we have missed? Travellers keep the Road Guide up to date. Tell us what you found at contribute@parkup.nz and we will check it and add it.
Ask us to take this down
A person reads every request. We do not remove a place until we have checked it.
Sources
- DOC Tracks (API) · CC BY 4.0Crown Copyright: Department of Conservation Te Papa Atawhai. Data sourced from the DOC Developer Portal (api.doc.govt.nz).