Edwards - Otehake Route
WalkCanterburyOpen
- Grade
- Expert
- Walking time
- 3 days
- Route
- One way
- Dogs
- No dogs
Getting there
We have not checked a road end or car park for this place yet, so we do not give driving directions to it. Check how to get there before you go. Some routes cross private land and need the landowner's permission.
How to get there, on doc.govt.nzThe east-coast end of the track starts beside SH73, 5 km south of Arthur's Pass village, just after the Mingha bluffs. The west-coast end of the track starts beside SH73 at Aickens, where the Taramakau River meets the Otira River.
You can leave a vehicle at the eastern side, or catch a shuttle bus. Atomic Shuttles and West Coast Shuttles both run buses between Christchurch and Greymouth each day.
Source: DOC Te Papa Atawhai.
Map and tracks
Track lines: DOC Te Papa Atawhai. Map data © OpenStreetMap contributors. Topo map: LINZ, CC BY 4.0. 42.89371° S, 171.67649° E
About this place
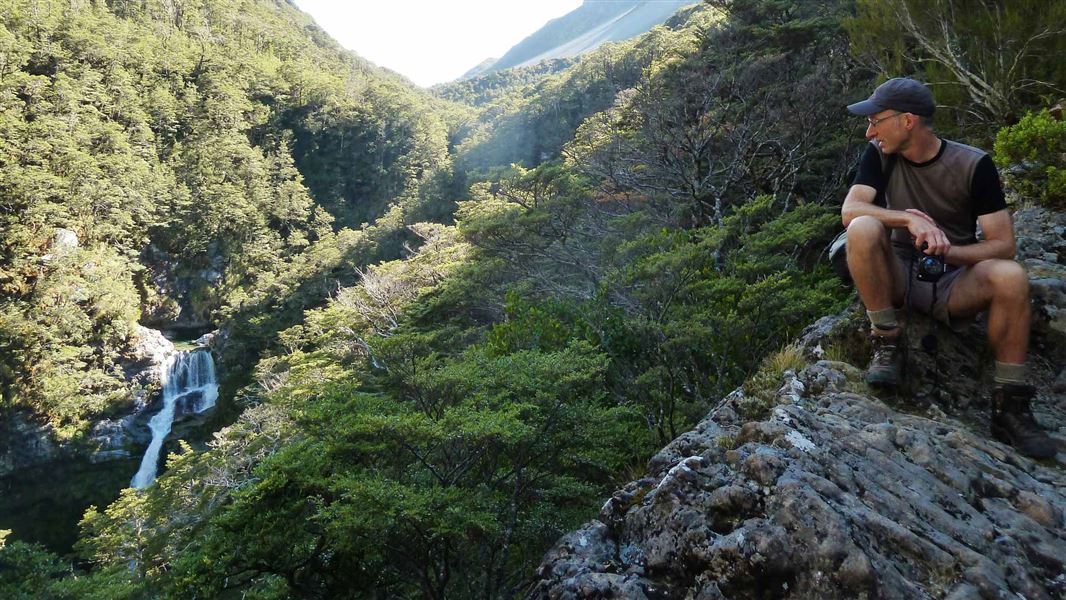
A transalpine route that mixes the best of east with the wilds of the west.
The route
This is a high-level crossing of the Southern Alps/Kā Tiritiri o te Moana. While it is relatively straightforward tramping up the Edwards, it is extremely slow walking on a very rough unmarked route in the Otehake. Note: True right and true left refers to the sides of the valley when looking downstream.
SH73 to Edwards Hut
Time: 4–5 hr
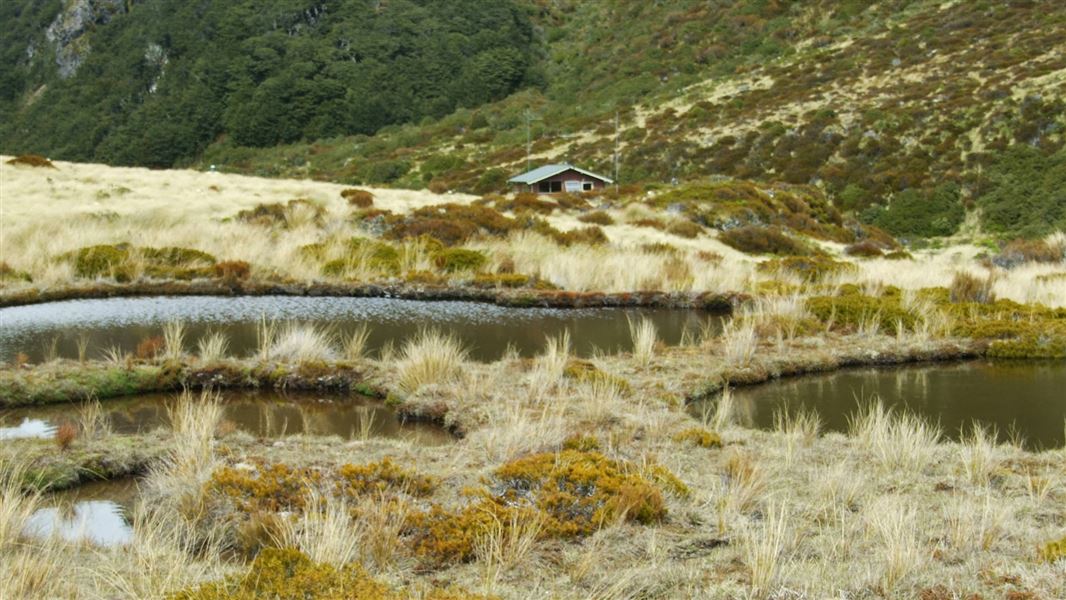
Cross the Bealey River just above its confluence with the Mingha River, 5 km south of Arthur’s Pass village. If the river is high and not easy to cross here, you will have problems further on, so save the trip for another day. The track begins at the bush edge, downstream of the Edwards-Mingha confluence. Look for the orange markers and sign on the river flat that mark the start of a 20 min track to bypass the lower Edwards gorge. When the track emerges onto the riverbed, travel upstream on the true left for 1 hr, climbing the bank once or twice as needed. Cross the east branch of the Edwards River (difficult when high) above where it joins the main river, and pick up the marked track 100 m up the east branch on the opposite bank. The track rises and falls several times to avoid steep side-gullies, and gives the odd glimpse of waterfalls in the Edwards River canyon. Take extreme care on this part of the track as there are large drop-offs and steep sections. The track leads to a large upland valley, emerging finally among red tussocks on the upper river flats (take care as it is easy to lose your way in the maze of tussocks). The track leads back into the forest for a short section, before emerging on the river flats with a clear view to Edwards Hut. Total time from the road is 4–5 hr, with the junction with the Edwards River East Branch being a little under halfway. Edwards Hut is on radio link to Arthur's Pass Visitor Centre, monitored during office hours. Some groups have had difficulty reaching the visitor centre on this radio so read the instructions carefully.
Edwards Hut – Taruahuna Pass – Otehake Hut
Time: 5 hr
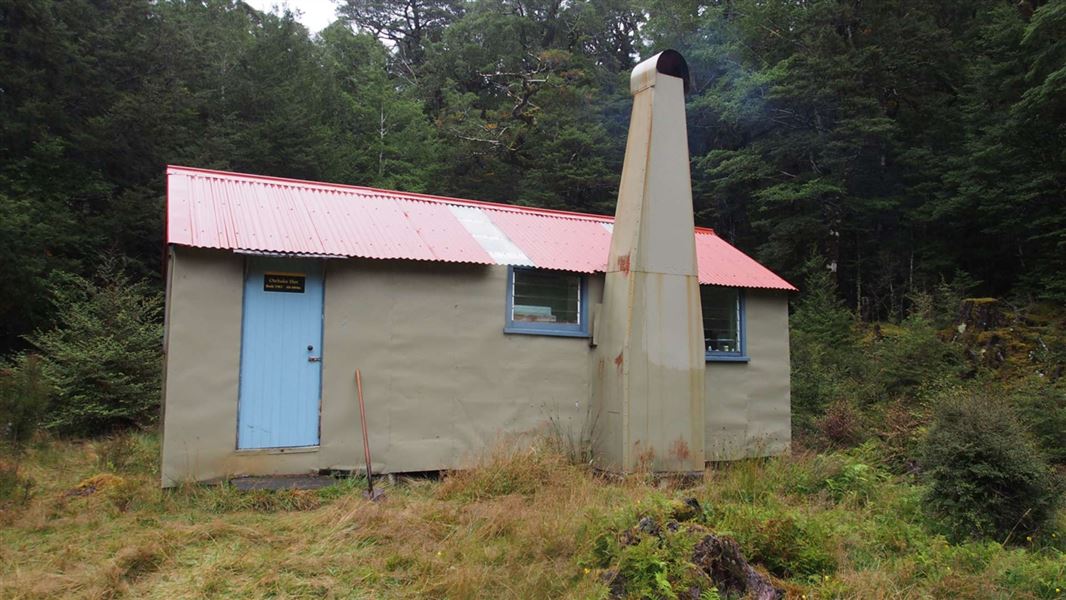
From Edwards Hut continue upstream, along the true left bank over tussock flats or in the riverbed, to the summit of Taruahuna Pass. Travel is slow but on easy gradients, and is sometimes helped by well-trodden paths. The pass itself is a huge pile of mountain debris, the result of landslides from Falling Mountain triggered by a large earthquake in 1929. Warning: This area is subject to avalanche activity during the winter. Do not travel this route during heavy snow conditions. Veer right on the landslide debris towards the bottom of the slopes below Tarn Col. Scramble down through rocky terraces, moving towards the true left side of the valley, to pick up the cairned route that continues down several streams. If the river is low, it is easier to follow the river through the shingle bluffs to its junction with Lake Sally stream. Alternatively, where the river begins to drop away between high shingle bluffs, climb the scree spurs to gain the high terrace on the true left (look for marker poles on the crest). Follow the terrace using a defined (but overgrown) track through the bush. The route rejoins the riverbed where the Lake Sally side river joins the Otehake. This is about 2 hr from the summit of the pass. Ford this side river and continue down the riverbed on the true left for about 15 min, toward where bush-clad banks draw together. Pick up the marked track on the true left. Follow it through bush for about 30 min to Otehake Hut on a small bush-covered flat, just above the point where the East Branch of the Otehake joins the West Branch.
Otehake Hut to Lake Kaurapataka track junction
Time: 7–9 hr
Note: The Otehake footbridge (which may be marked in older publications and maps) has been removed, and will not be replaced. Travel down the Otehake is much slower than the map suggests. The river itself cannot be followed and should be used only where the route leads to it. If you plan to travel out to the main road in one day down the Otehake, you need to be very fit and leave early. Warning: There are no further huts or shelters on this route but prepared to stay overnight if this section takes longer than expected. While this unmarked route does not cross over the Otehake itself, you will need to enter the stream to get around a bluff to reach the section of track that bypasses the last gorge. There are also several side streams that can rise rapidly and become uncrossable. Consider the weather, state of the river and fitness of your group before venturing down the Otehake. From the hut, the route sets off through bush on the true left, travelling for a short distance along a river flat but soon moving into much steeper country – characteristic of the route from here to Lake Kaurapataka. The track weaves its way above gorges and bluffs, usually 90–250 m above the river, crossing ridges and steep side streams. Much of the going is slippery with moss-covered rocks and greasy tree roots. Be careful – particularly where the ground falls away steeply towards the river. A hand-line (15 m) may be needed to safely climb and haul packs up the northern bank of the final creek, before you descend towards Whaiti Stream. Again, take care – do not trust any hand lines left here. From here the route is occasionally marked, but not well maintained and not always clearly defined. A large slip before Whaiti Stream is dangerous to cross. Travel off the track is very difficult so if you have not seen track markers for 100 m, you should back-track to the last known marker and look around to find the track. After about 4 hr the track drops into the Otehake 200 m above Whaiti Stream. This stream often rises rapidly to become impossible to cross. The track begins again 25 m below the stream; climb the steep bank on the left to enter thick bush. Warning: Major landslides in the lower Otehake valley area (1.7 km downstream of Whaiti Stream) require care. 1 hr 30 min of similar going brings you back to the river, 200 m upstream of an island in the riverbed. There are good campsites on the island and a hot sulphur spring in the old riverbed on the far side. The spring is small but worth a visit if the river is fordable. Do not immerse your head in the spring as there is a risk of contracting amoebic meningitis. From the island you will travel in or beside the riverbed for about 1.5 km. A steep track leaves the river on the true left just before a bluff. This section of the track climbs and descends steeply to avoid a gorge in the river. It is marked but not well defined. If the river is fordable it is quicker to stay in the riverbed until the site of the old footbridge; however a deep crossing (short swim!) may be necessary in the gorge. Otherwise, follow the track, being careful on steep and slippery sections. At an easily-missed junction in the track you can either turn right to return to the river and the site of the old Otehake footbridge, or take the left track to continue climbing. Either way you will eventually join the Lake Kaurapataka track. Remember: Allow plenty of time for the Otehake.
Lake Kaurapataka track junction – Pfeifer Creek – Taramakau River – SH73
Time: 5 hr
From here the going is easier. For those who chose to travel down the river from the hot springs, a marked track enters the bush on the true left about 200 m below the site of the old footbridge. It climbs steeply for about 10 min to a track junction at the eastern end of Lake Kaurapataka. Follow the Lake Kaurapataka Track along the south side of the lake. The track follows the lake edge for the first 20 min, then winds its way through lush podocarp forest a little way back from the lake. About midway along the lake, a short side-track on the right leads to a level grassy area beside the lake suitable for a lunch stop or camp site. The track then leaves the lakeside, winding through ancient tracts of forest, dropping gently to Pfeifer Creek. The track follows the true right of Pfeifer Creek to the Taramakau valley. Watch out for stinging nettle/ongaonga growing beside the track. Time from the site of the old Otehake footbridge: about 2 hr 30 min. Cross Pfeifer Creek to the true left, picking up a short section of track that leads to a 4WD road. Follow this road down the Taramakau valley through grass and gorse-covered flats. Where the road runs beside a small stream, look for a large track marker on the true left riverbank. Cross the stream and pick up the track (marked with stakes). The track winds in and out of the bush edge for about 1 km, before meeting the Otira River flood track to the Morrison footbridge. Take the right-hand branch of the track to the Otira River. Cross the Otira River (if fordable) over to SH73 at Aickens. A large marker on the opposite bank marks the crossing point. If the Otira River is too high to cross, back-track to the flood track that travels up the true right of the river to the Morrison footbridge at the confluence of the Otira and Deception Rivers. This is a marked track but is not well maintained. It will take 3–4 hours to reach the footbridge. In extreme weather conditions, this route can also be cut off by flooded sections. Parties travelling from North to South should not use the emergency flood track to start their tramp. If the Otira River is not crossable, crossing the Otehake will be impossible.
Source: DOC Te Papa Atawhai.
Know before you go
Stay safe when crossing rivers and streams
If you plan to cross unbridged rivers or side streams, know how to cross safely and be prepared for if you cannot cross. Do not cross if the river or stream is flooded, you cannot find safe entry and exit points or are unsure it’s safe. Turn back or wait for the river to drop. If in doubt, stay out. How to cross rivers safely NIWA river flow forecasts: View a video of national followed by regional river flows
Source: DOC Te Papa Atawhai.
Joins these tracks
Source: DOC Te Papa Atawhai.
On this track
In walking order.
Nearby stops
Goat Pass Hut
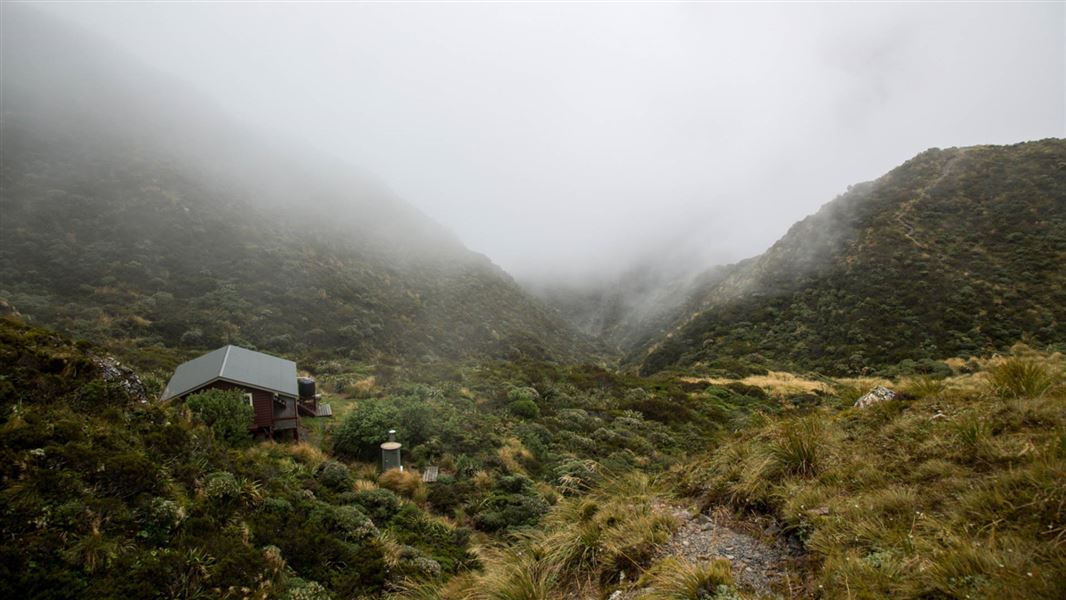
Standard • 20 bunks • West Coast • 4.3 km
Goat Pass Hut is a standard 20-bunk hut located in the Hokitika area.
Mattresses • Toilets - non-flush • Water from tap - not treated, boil before use
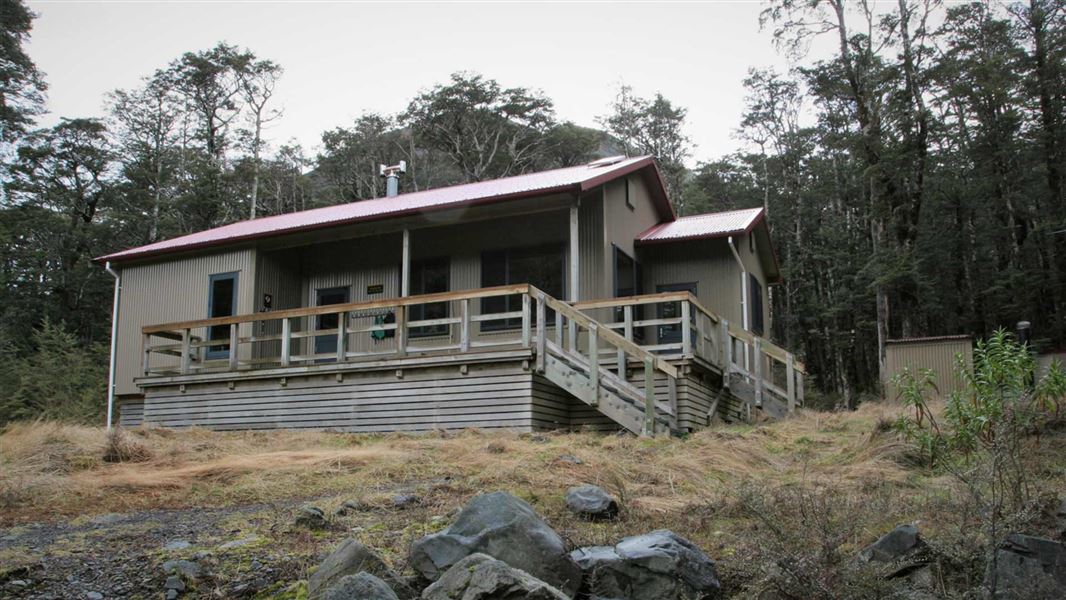
Hawdon Hut
Serviced • 20 bunks • Canterbury • 5 km
Hawdon Hut is a serviced 20-bunk hut located in the North Canterbury and Arthur's Pass area. It provides basic accommodation for visitors exploring the region.
Heating • Mattresses • Toilets - non-flush
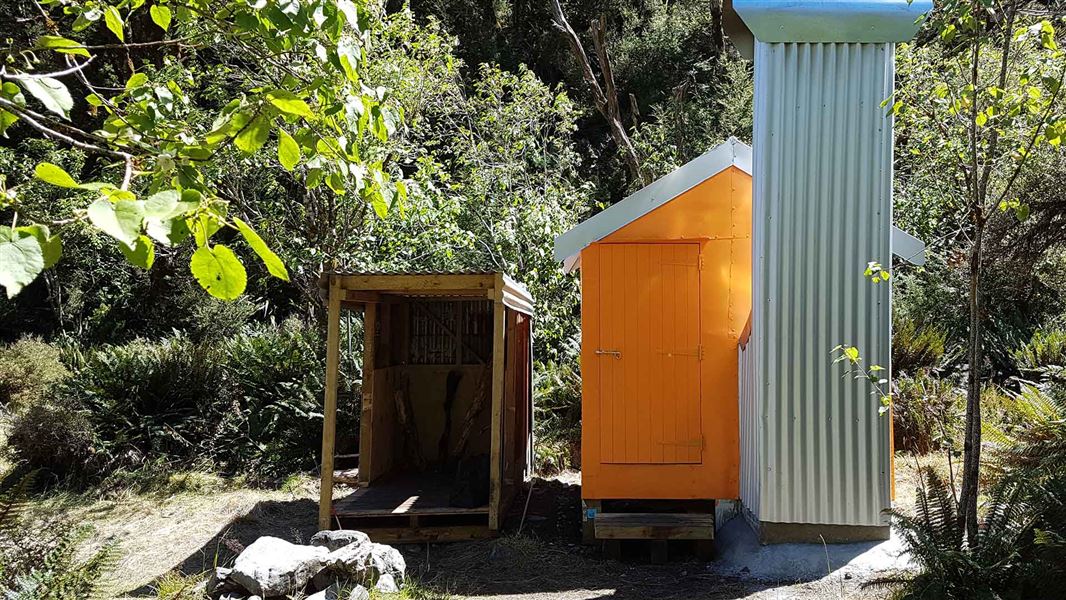
Mingha Bivvy
Basic/bivvies • 2 bunks • Canterbury • 5 km
Mingha Bivvy is a basic two-bunk hut located in the North Canterbury and Arthur's Pass area. It provides simple shelter for hikers in the Canterbury region.
Heating • Mattresses • Toilets - non-flush
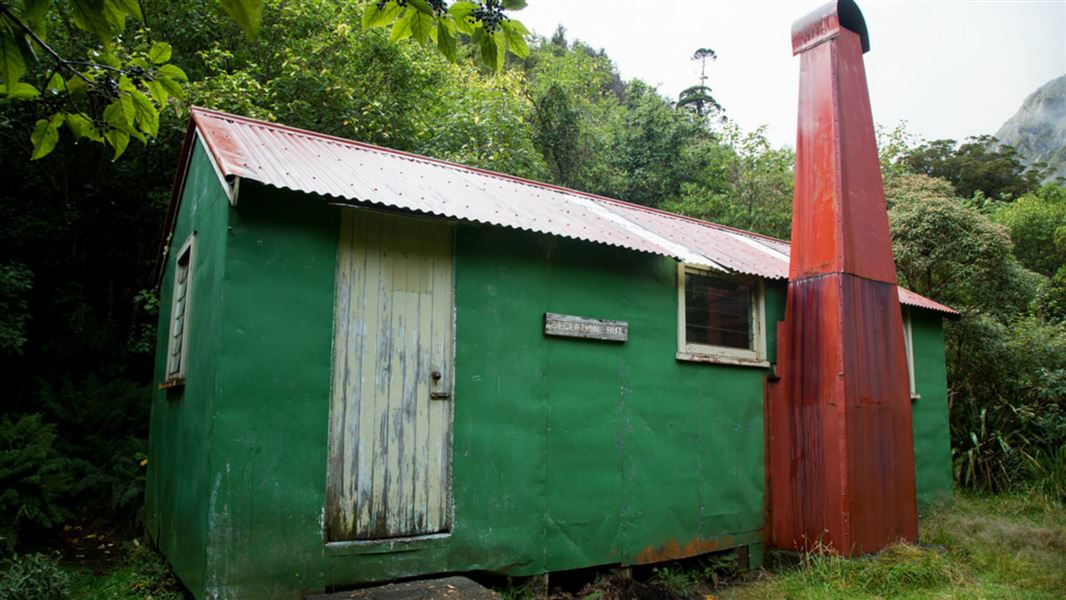
Upper Deception Hut
Basic/bivvies • 6 bunks • West Coast • 5 km
Upper Deception Hut is a basic six-bunk hut located in the Hokitika area.
Heating • Toilets - non-flush • Water from stream
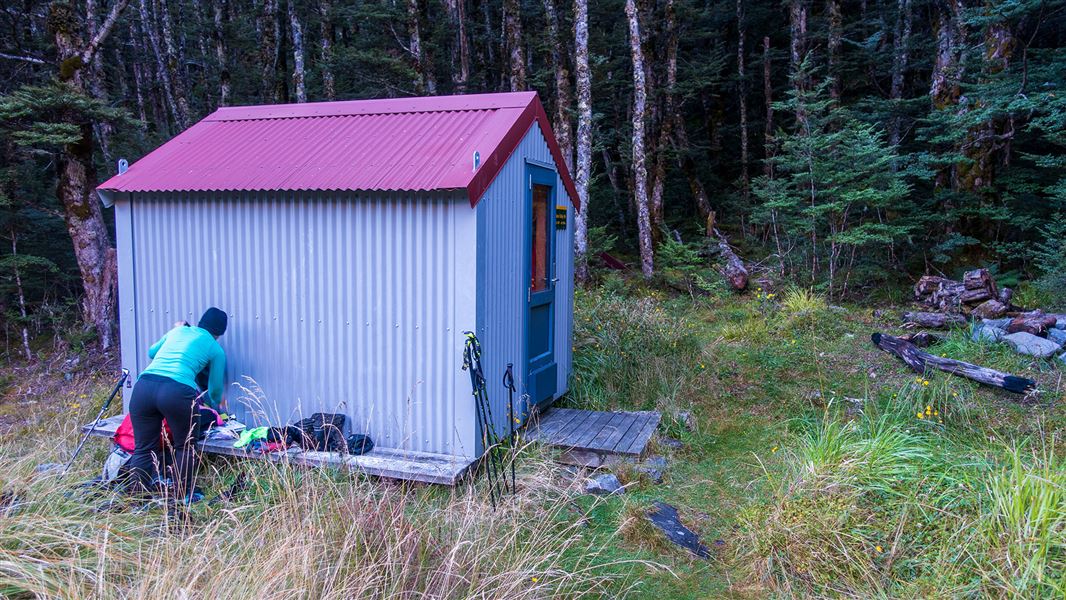
Sudden Valley Bivvy
Basic/bivvies • 2 bunks • Canterbury • 6.6 km
Sudden Valley Bivvy is a basic two-bunk hut located in the North Canterbury and Arthur's Pass area. It provides simple overnight accommodation for hikers in…
Mattresses • Toilets - non-flush • Water from stream
Walks nearby
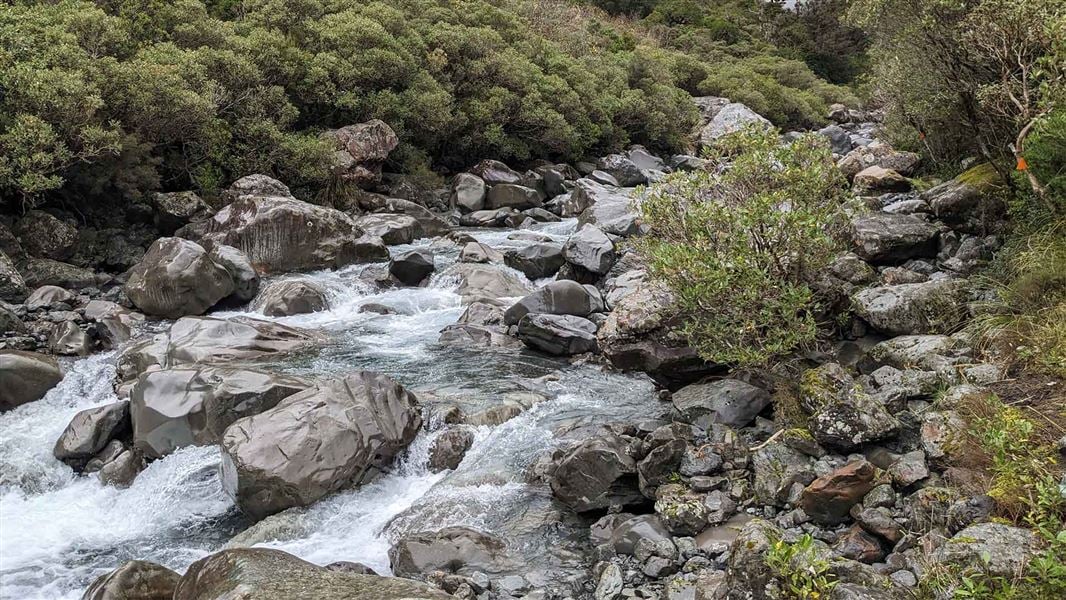
Mingha Track
Tramping track • Overnight • 4.28 km away
Mingha - Deception Route
Expert • 2 - 3 days • 4.96 km away
Hawdon Hut Track
Advanced • 6-8 hr • 18 km • 8.35 km away
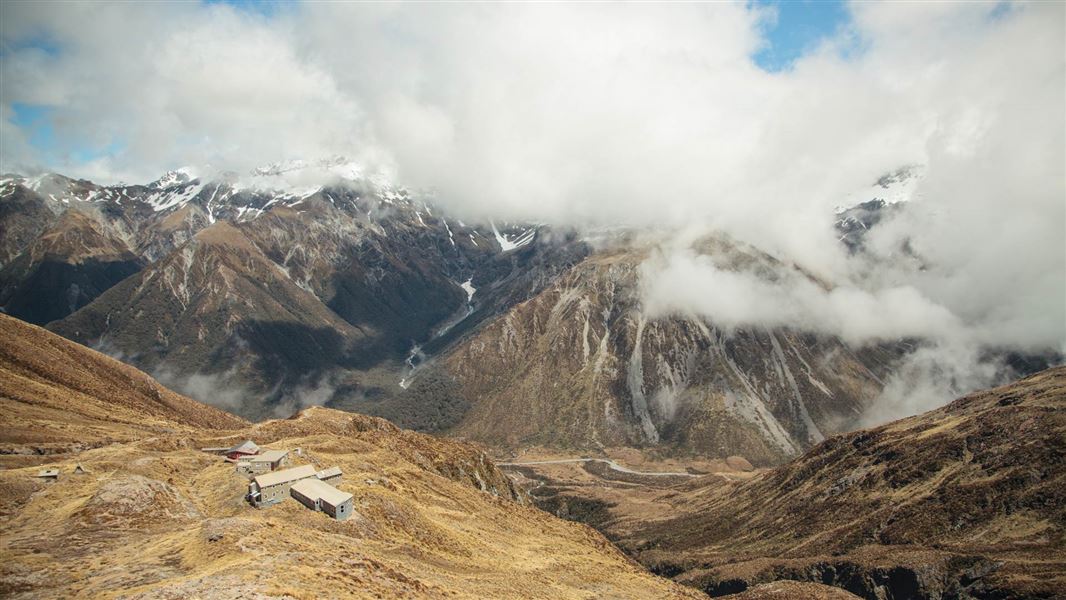
Temple Basin Track
Advanced • 1 hr 30 min one way • 2.1 km • 9.07 km away
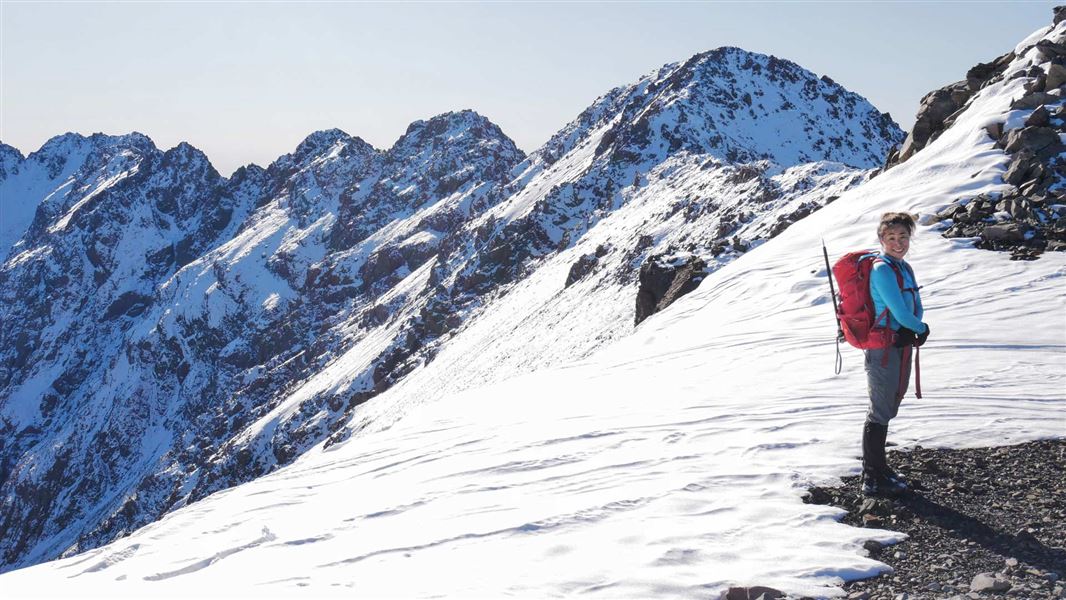
Mount Aicken Track
Advanced • 2-4 hr return to the bushline • 2.8 km (540 vertical climb) to the bushline • 9.77 km away
Notes from people who have been
No notes yet. If you have been, say what you found.
Something missing or out of date?
Closed, moved, wrong facts, or something we have missed? Travellers keep the Road Guide up to date. Tell us what you found at contribute@parkup.nz and we will check it and add it.
Ask us to take this down
A person reads every request. We do not remove a place until we have checked it.
Sources
- DOC Tracks (API) · CC BY 4.0Crown Copyright: Department of Conservation Te Papa Atawhai. Data sourced from the DOC Developer Portal (api.doc.govt.nz).
- DOC Tracks & Trails · CC BY 4.0Data sourced from the Department of Conservation (DOC), New Zealand.